2026-07-30 기준
wsl 에 rhel9.8 설치 후, 아래와 동일하게 해도 잘 진행 됨.
차이점
1. root 가 아닌 cloud-user 로 설정됨. sudo 명령어 사용가능하니 괜찮음
2. 기 설치된 vscode 와 연결이 안되서 wsl conf 파일을 수정했음
sudo vi /etc/wsl.conf
--- 아래 추가
[interop]
enabled=true
appendWindowsPath=true
---
wsl --shutdown 후, 재 연결시 가능해짐.
1. 환경 구성
wsl 설치는 이제 너무 쉽다. 다음 명령어 한줄로 wsl 을 일단 설치하자.
wsl --install
2. Redhat Enterprise Linux 설치하기 (8.10)
wsl 에 리눅스 설치는 결국 이미지를 어디서 구하느냐? 이다. Redhat Enterprise Linux 사이트에 접속하자.
The world's open source leader
Red Hat is the world’s leading provider of open source solutions, using a community-powered approach to provide reliable and high-performing cloud, virtualization, storage, Linux, and middleware technologies. Red Hat also offers award-winning support, tr
www.redhat.com
기본은 무료이다보니, 회원가입해서 다운받고 개발자 인증을 받으면 업데이트까지 가능하다!
다만 메뉴가 참 찾기 힘들었다.
Download Red Hat Enterprise Linux at no cost | Red Hat Developer
Download Red Hat Enterprise Linux at no cost | Red Hat Developer
Download Red Hat Enterprise Linux at no cost. Get access to RHEL cloud ready images, ISOs, and more
developers.redhat.com
버전별로 다운받을 수 있고, 중간즈음에 wsl 다운로드 메뉴가 있다.
하지만, 여길 누르면 현재 기준 rhel10 이 다운받아진다.
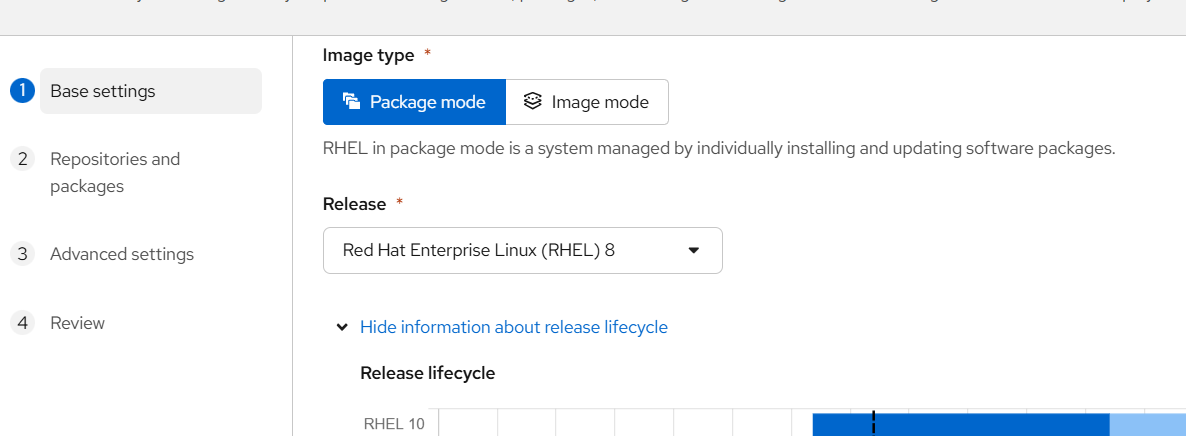
그래서 이미지 빌더를 이용해서 원하는 이미지를 만들어서 다운받자
Image builder - Inventory | RHEL
Hybrid Cloud Console
console.redhat.com
베이스 이미지를 rhel8을 선택하고,
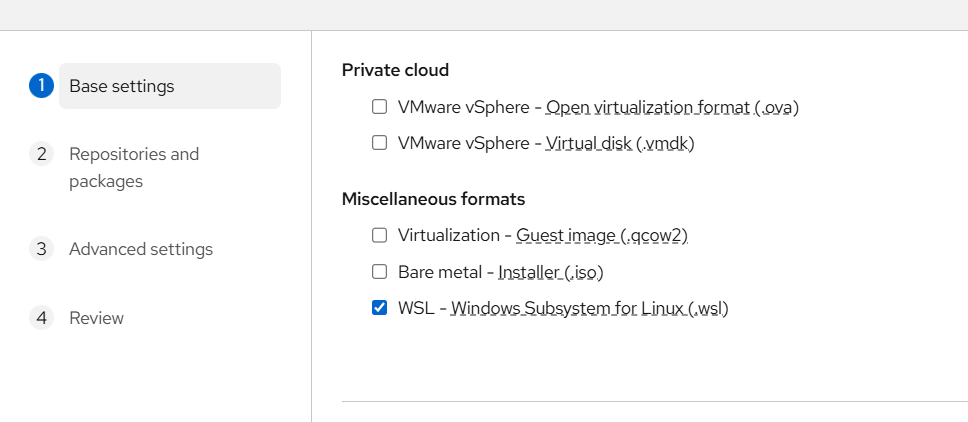
wsl 을 선택하면 끝
3. 다운받은 wsl 이미지 파일을 import 한다.
wsl --import rhel8 C:\MENDIX_DEV\wsl\rhel8 rhel-wsl2-8.10-4.x86_64.tar.gz
4. 그리고 업데이트를 위해 등록 ( 레드햇 사이트 로그인/암호 로 로그인 필요 )
subscription-manager register
5. 업데이트
dnf --update -y
6. 개발 필수 패키지 설치
dnf groupinstall "Development Tools" -y
dnf install wget -y
준비 끝!
