출처
https://medium.com/mendix/build-widgets-in-mendix-with-react-part-1-colour-counter-f1e400c3cdff
Build widgets in Mendix with React — Part 1 — Colour Counter
Mendix is a low code platform that lets makers deliver value faster and build applications easily. With Mendix the frontend can be…
medium.com
해당 링크에 있는 내용을 따라하며 요약한 내용입니다~!
실행 환경 노드 버전 입니다~!
node -v
18.17.1
1. Mendix 위젯 생성 관련 툴 설치 yeoman 설치, mendix widget 생성기 설치
npm install -g yo
npm install -g @mendix/generator-widget
2. 위젯 scaffold 생성
yo @mendix/widget colourCount
생성시 나오는 질문에 아래같이 입력!

3. 위젯을 테스트할 Mendix 프로젝트 생성
위에서 입력한것 같이, 위젯 생성폴더와 동일레벨에 프로젝트 위치를 생성합니다.
예시)
위젯폴더
C:\study\mendix-widget-workspace\colourCount
프로젝트 폴더
C:\study\mendix-widget-workspace\colourCount\tests\testProject
4. 위젯을 빌드해 봅니다!
npm run build
5. Mendix Pro Studio 를 실행해서 해당 프로젝트를 열고 F4 ( Syncronized App Directory ) 를 입력하면, 위젯 쪽에, 방금 빌드한 Colour Count 위젯을 볼수 있습니다!
6. 해당 위젯을 드래그 하고, 더블클릭해서 간단한 텍스트 입력 후, 앱을 실행해서 결과를 봅니다!
새로 만든 컴포넌트가 잘보입니다~
7. 이제 링크에 나와있는거 같이, 화려한 카운트를 만들기 위해서, 다음과 같이 파일들을 수정합니다.
ColourCount.xml property 부분 수정
            <property key="initialValue" type="integer" required="true" defaultValue="5">
                <caption>Initial Value</caption>
                <description>The initial value of the counter</description>
            </property>
ColourCount.jsx
import { createElement } from "react";

import { Count } from "./components/Count";
import "./ui/ColourCount.css";

export function ColourCount({ initialValue }) {
    return <Count initialValue={initialValue} />;
}
ColourCount.editorPreview.jsx
preview 함수때문에 느려지는 경향이 있다고 단순화 시켰습니다.
import { ReactElement, createElement } from "react";
export function preview() {
    return <div />;
}
export function getPreviewCss() {
    return require("./ui/ColourCount.css");
}
components/Count.jsx (신규파일입니다. 원래 있는 HelloWorld.jsx 파일 삭제합니다. )
import { createElement, useEffect, useState } from "react";
import randomColor from "randomcolor";

export function Count({ initialValue }) {
    const [count, setCount] = useState(initialValue);
    const [colour, setColour] = useState("");

    const increment = () => {
        setCount(prevState => prevState + 1);
    };

    const decrement = () => {
        setCount(prevState => prevState - 1);
    };

    useEffect(() => {
        setColour(randomColor());
    }, [count]);

    return (
        <div>
            <p style={{ color: colour }}>{count}</p>
            <button className="mx-button btn-primary" onClick={increment}>
                +
            </button>
            <button className="mx-button" onClick={decrement}>
                -
            </button>
        </div>
    );
}
7. 추가 패키지 설치 및 패키징
파일을 모두 수정했으면, 위 소스에서 본것처럼 randomcolor 패키지를 설치해 줍니다.
그리고 위젯을 다시 패키징 합니다.
npm i randomcolor
npm run build
8. 멘딕스 스튜디오 프로에서 F4 로 디렉토리 동기화 후, 실행을 눌러줍니다.
9. 결과가 잘나오는것을 확인합니다!
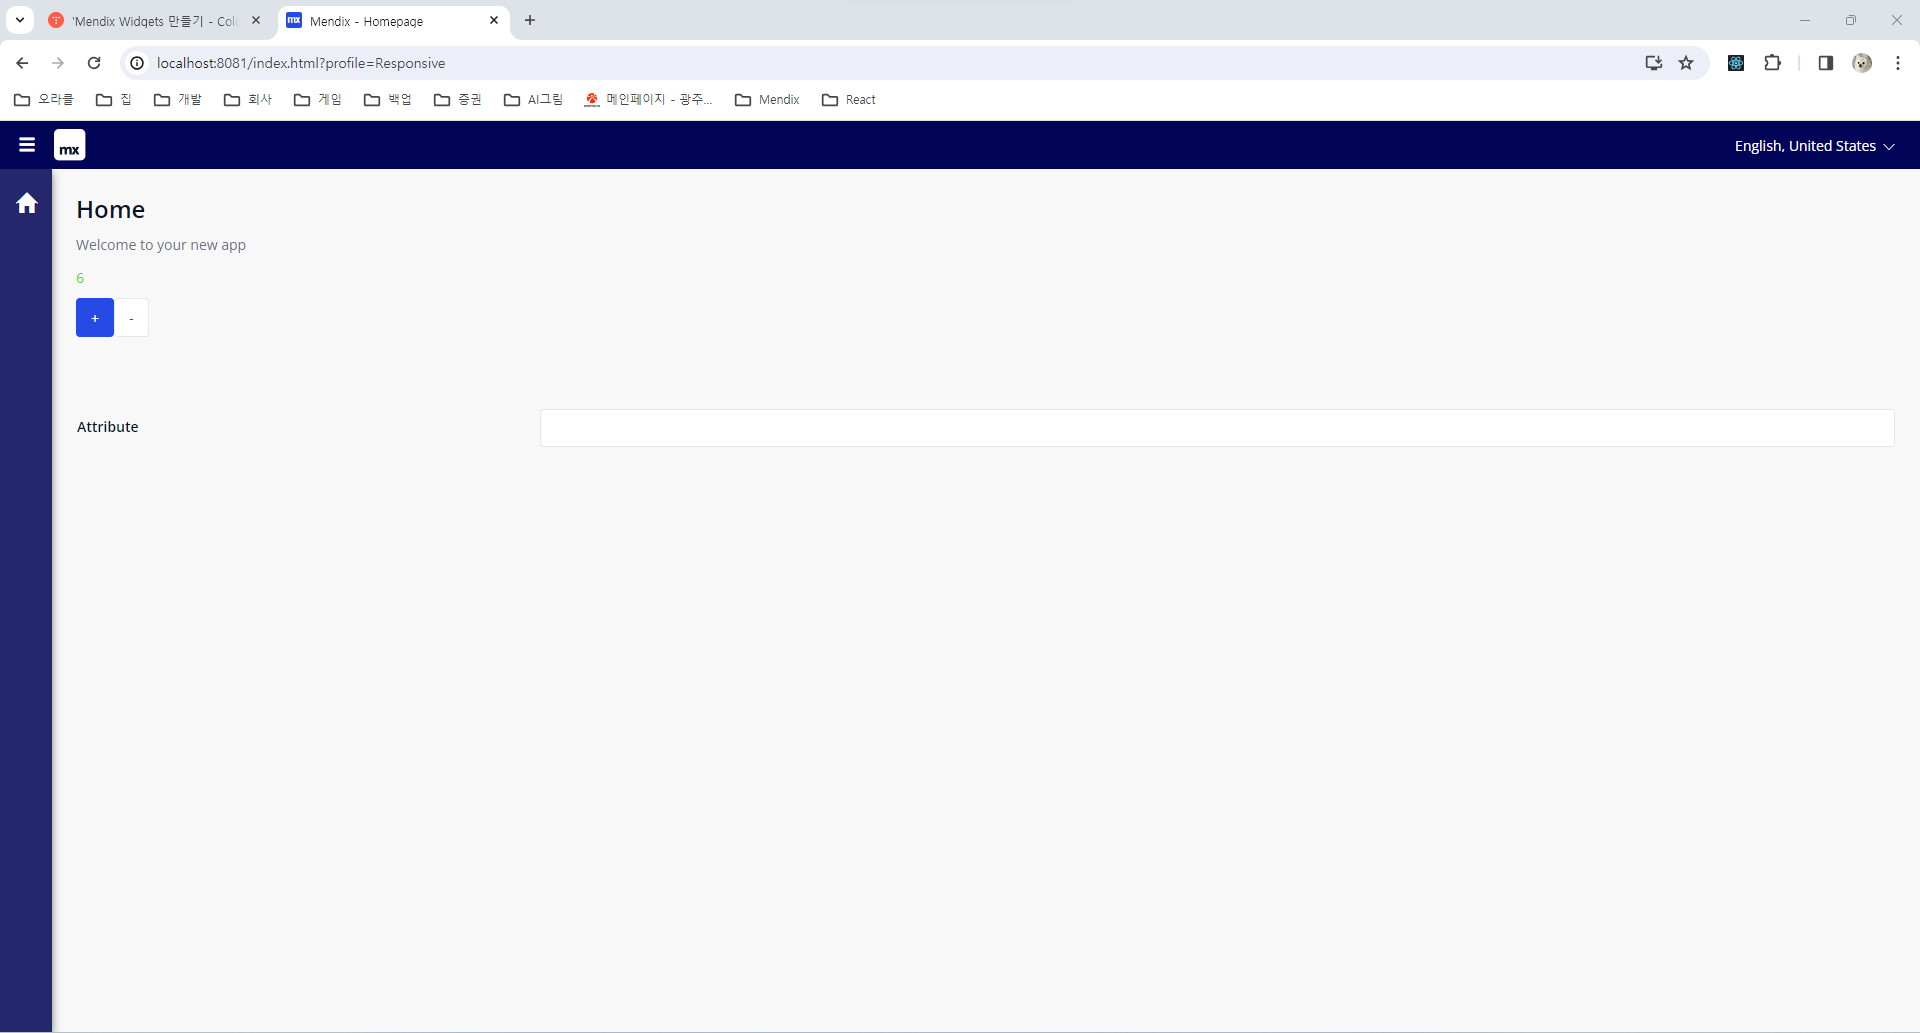
이제 모두 멘딕스 위젯을 만들어봅시다~~!
혹시 잘안되시는 분은 첨부된 아래 파일을 받아서
npm i 로 모듈 설치 후
tests/testProject 에 멘딕스 프로젝트를 만드신다음 테스트 하시면됩니다~~
감사합니다!


