저번 위젯에 이은 두번째 튜토리얼의 따라하기 요약입니다!
https://medium.com/mendix/build-widgets-in-mendix-with-react-part-2-timer-b65c720b34e3
Build Widgets in Mendix with React Part 2 — Timer
Mendix enables Makers to extend their application using React through the Pluggable Widgets framework.
medium.com
1. 프로젝트 생성
yo @mendix/widget Timer
Timer.editorPreview.tsx 파일 삭제
tests/testProject 에 멘딕스 프로젝트 생성
2. 소스 수정
Timer.xml
    <properties>
        <propertyGroup caption="General">
            <property key="timeAtt" type="attribute" required="true">
                <caption>Time attribute</caption>
                <description>The number of seconds on refresh</description>
                <attributeTypes>
                    <attributeType name="Integer" />
                </attributeTypes>
            </property>
            <property key="action" type="action" required="true">
                <caption>Action</caption>
                <description>Action to trigger when the time elapses</description>
            </property>
        </propertyGroup>
    </properties>
Timer.tsx
import { ReactElement, createElement, useState, useEffect } from "react";
import { TimeText } from "./components/TimeText";

import { TimerContainerProps } from "../typings/TimerProps";
import "./ui/Timer.css";

export function Timer({ timeAtt, action }: TimerContainerProps): ReactElement {
    const [time, setTime] = useState<number>();
    useEffect(() => {
        console.log(`Render ${timeAtt.value}`);
        if (timeAtt.value) {
            setTime(timeAtt.value.toNumber());
        }
    }, [timeAtt]);

    useEffect(() => {
        if (time !== undefined) {
            if (time > 0) {
                window.setTimeout(() => setTime(time - 1), 1000);
            } else {
                execAction();
            }
        }
    }, [time]);

    const execAction = () => {
        if (action && action.canExecute) {
            action.execute();
        }
    };

    return (
        <div>
            <TimeText value={time} />
        </div>
    );
}
components/TimeText.tsx ( 신규파일 )
import { ReactElement, createElement } from "react";

export interface TimeTextProps {
    value: number | undefined;
}

export function TimeText({ value }: TimeTextProps): ReactElement {
    return value ? <div>{value} seconds</div> : <div>Loading</div>;
}
3. 빌드 npm run build
4. 멘딕스 프로젝트
링크되어 있는 튜토리얼에는 멘딕스 프로젝트를 어떻게 만들라는 언급이 없어서, 눈치껏 ? 만들었습니다.
4.1 엔티티 생성 ( Timer (논퍼시스턴트) , 속성 추가 Seconds(Integer )
4.2 홈화면에 Data View 추가, 해당 Data View 의 데이터 소스로 마이크로 플로우를 설정하고, 4.1. 의 엔티티를 생성해서 리턴, Seconds 는 10으로 설정해서 생성
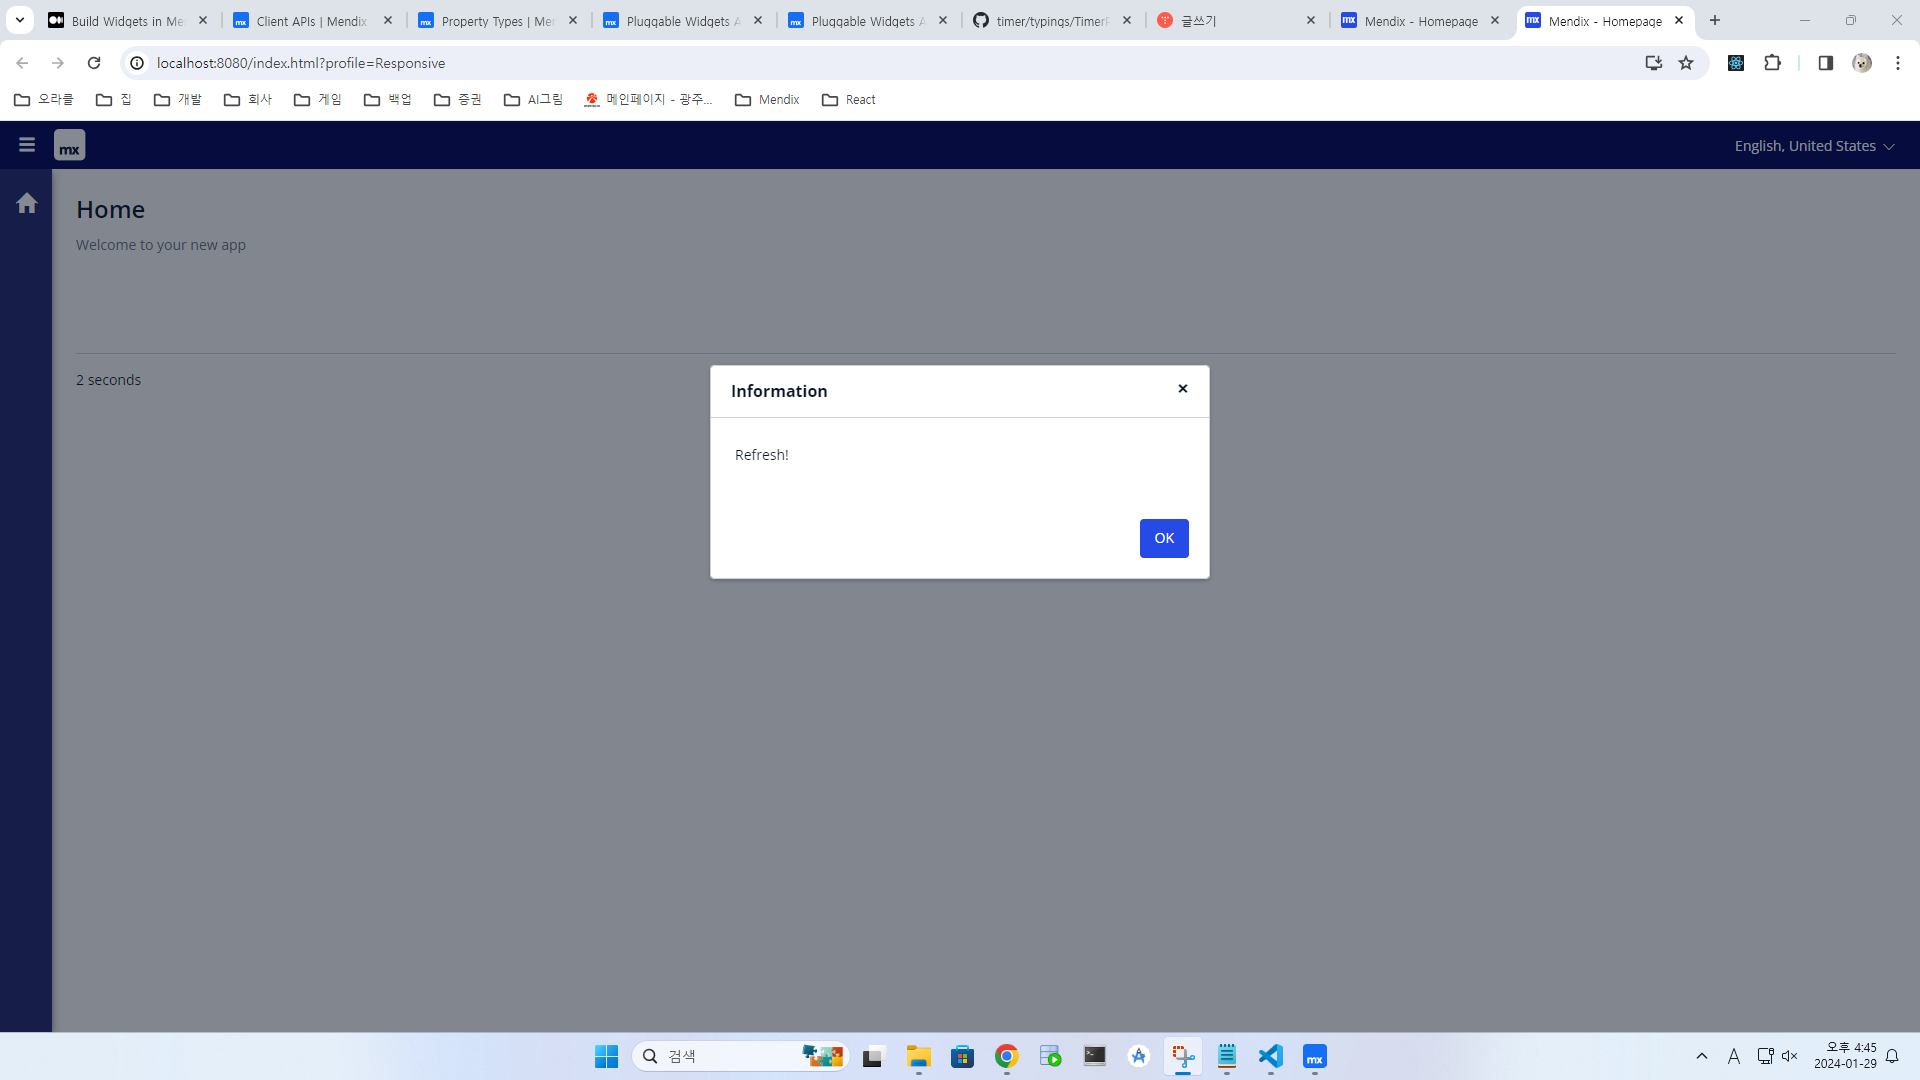
4.3 Data View 안에 3에서 만든 위젯 추가 속성 값으로, Seconds 지정하고, Action 은 추가 마이크로 플로우를 만들어서,
리프래쉬 경고창이 뜬후, Show page 컴포넌트로 리프래쉬 되도록 설정
5. 실행하여, 위젯 정상 확인!
6. 추가 팁
- 실행시, 멘딕스 프로젝트의 콘솔 > 어드밴스드 메뉴를 통해서 Client 로그레벨을 trace 까지 낮추어야 위젯에서 찍는 console.log 확인 가능함
- 멘딕스 프로젝트 실행후, 위젯에서 npm run start 로 실행하여, 수정후, 멘딕스 프로젝트에서 F4를 눌러 싱크 하면 번거로운 과정 없이 수정사항 확인이 가능함!
프로젝트 파일 추가 합니다.
npm i 실행후, 동작시키면 잘될겁니다~~


